

Winter Boots Built for Montreal's Salt and Slush, and How to Keep Them Alive

Key takeaways
- Road salt draws moisture and oils out of leather, which is what leaves the white tidemark and what eventually cracks the material.
- A mix of equal parts white vinegar and water lifts most salt stains without damaging leather or suede.
- Treat salt stains quickly. The longer salt sits, the deeper it works into the material and the harder it is to reverse.
- Let boots dry away from direct heat. Radiators and hot air dry leather too fast and cause cracking.
- Protecting boots before winter starts is far easier than repairing them after, and it takes about ten minutes.
That chalky white line across your boots is road salt, and it is doing more than looking bad. Salt pulls moisture and natural oils out of leather, which is what eventually leads to stiffness and cracking. The fix is simple and cheap: equal parts white vinegar and water, applied early. Here is how to do it properly, and how to keep your winter boots going for more than one season.
What Road Salt Actually Does to Boots
Salt is hygroscopic, meaning it attracts and holds water. When salty slush soaks into leather and then dries, the salt stays behind in the material and keeps drawing moisture out from the inside. That is why the white tidemark appears as the boot dries, and why leather that has been repeatedly salted starts to feel stiff and papery.
Suede and nubuck suffer differently. Instead of a visible tidemark you get matted, flattened fibres and patchy discolouration, which is harder to spot early and harder to reverse once it sets.
The Vinegar and Water Method
This works on both leather and suede, and it uses things you already own:
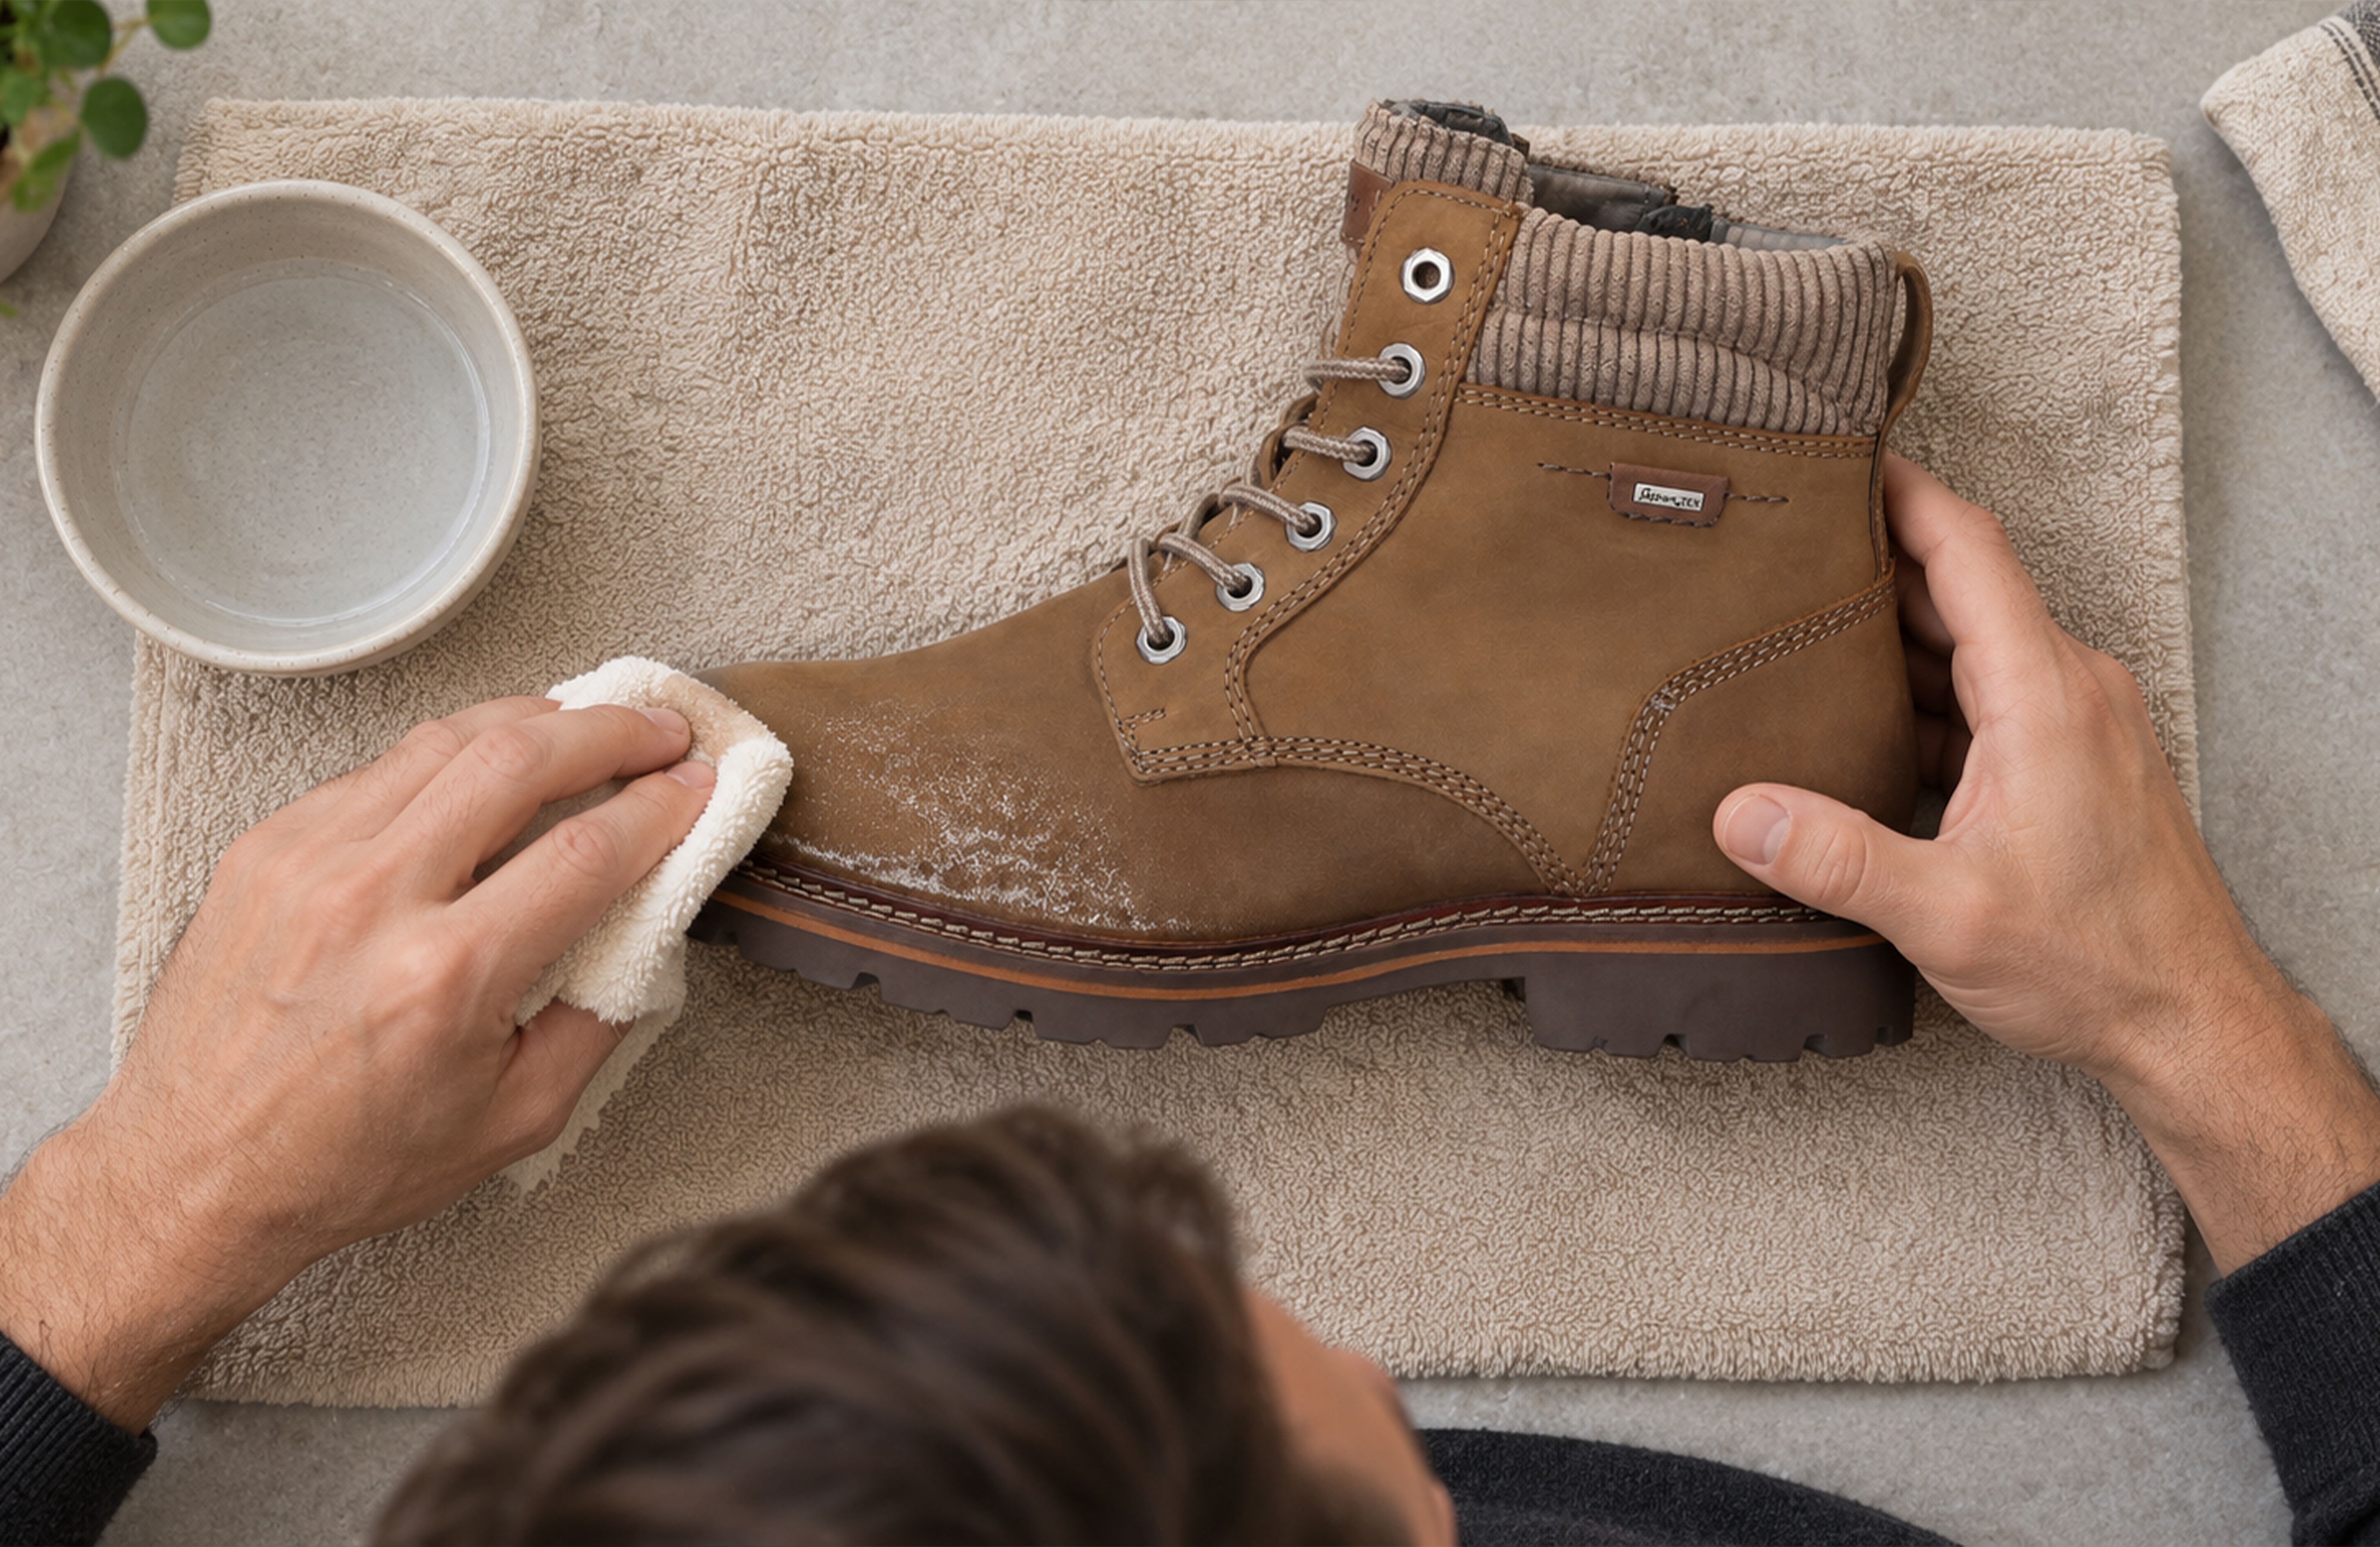
- Mix equal parts white vinegar and cool water in a bowl.
- Dip a clean cloth, then wring it out until it is damp rather than wet.
- Wipe along the salt line, following the grain of the material rather than scrubbing in circles.
- Go over the area again with a cloth dampened in plain water to lift the vinegar residue.
- Stuff the boots with newspaper and let them dry at room temperature.
For suede, use the same solution but far less of it, and finish by brushing the nap back up with a suede brush once the boot is completely dry. Brushing while damp flattens the fibres further.
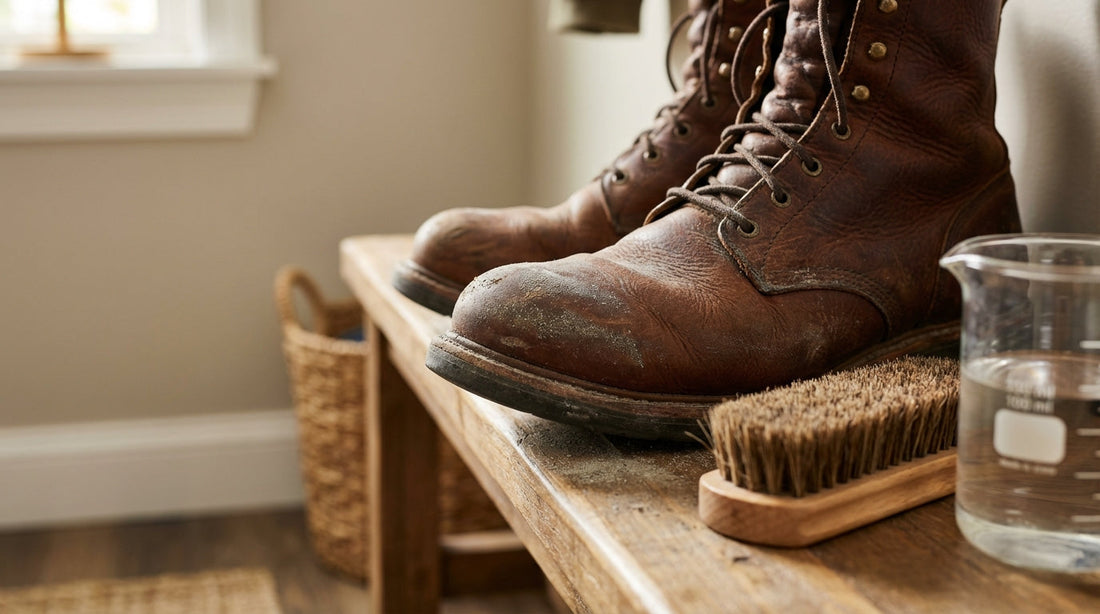
Why You Should Not Dry Boots by the Radiator
This is the mistake that does more long-term damage than the salt itself. Leather dries from the outside in, and forced heat pulls moisture out of the surface far faster than from the core. The result is a surface that shrinks and hardens while the inside is still damp, which is exactly how cracking starts.
Room temperature, away from direct heat, with newspaper inside to draw moisture out from the interior. It takes longer, and it is the difference between boots that last one winter and boots that last five.
Protecting Boots Before the Salt Starts
Ten minutes in late autumn saves a lot of repair work in February. A waterproofing spray or wax suited to your material creates a barrier that stops salt water soaking in to begin with. Leather takes a cream or wax, suede and nubuck need a spray formulated for them, and rubber boots like Bogs need far less protection since the material does not absorb salt the way leather does.
Reapply through the season rather than once. Salt, slush and repeated wetting wear the treatment down, and mid-winter is exactly when you need it working.

Salt on Rubber, Synthetic and Fabric Boots
Not every winter boot is leather, and the others need different handling. Rubber boots are the easiest case, since the material does not absorb salt the way leather does. A wipe with plain water clears most of it, and the vinegar solution is rarely necessary unless there is a stubborn residue.
Synthetic and fabric uppers sit in between. They will not crack the way leather does, but salt works into the weave and leaves a stiff, chalky patch that traps more dirt over time. A damp cloth and mild soap handles most of it, and the vinegar mix works if the stain has set. The thing to avoid is soaking them, since water gets into the insulation layer and takes a long time to dry properly.
Whatever the material, the principle is the same. Get the salt off before it dries in, and dry the boot slowly at room temperature.
A Simple Winter Routine
- After a salty walk: wipe the boots down with a damp cloth before the salt dries into the material.
- Weekly: check for tidemarks and treat them with the vinegar solution before they set.
- Monthly: reapply waterproofing, and condition leather to replace the oils the salt has stripped.
- End of season: clean thoroughly, condition, and store away from heat rather than putting them away dirty.
If your boots are already past saving, or the soles have lost their grip, our guide to non-slip winter boots covers what to look for in a replacement.
Frequently Asked Questions
How do you get salt stains off leather boots?
Mix equal parts white vinegar and cool water, wipe along the salt line with a damp cloth following the grain, then go over it with plain water and let the boots dry at room temperature away from heat.
Does vinegar damage leather?
Diluted white vinegar at equal parts with water is safe for most leather. Use it damp rather than wet, do not soak the material, and condition the leather afterwards to replace lost oils.
Can you remove salt stains from suede?
Yes, using the same vinegar and water mix but applied much more sparingly. Let the boot dry completely, then brush the nap back up with a suede brush. Brushing while damp flattens the fibres.
Why should you not dry boots near a heater?
Forced heat dries the surface far faster than the core, so the outer layer shrinks and hardens while the inside is still damp. That is the main cause of cracked leather on winter boots.
Keep Them Going Another Season
Most winter boots do not wear out, they get neglected. A cloth, some vinegar and ten minutes of prevention in October will get you years more out of a good pair. Come see us in store, we'll help you find the right fit, or browse our men's boots range when it is genuinely time to replace them.